 |
 |
 |
 |
 |
 |
 |
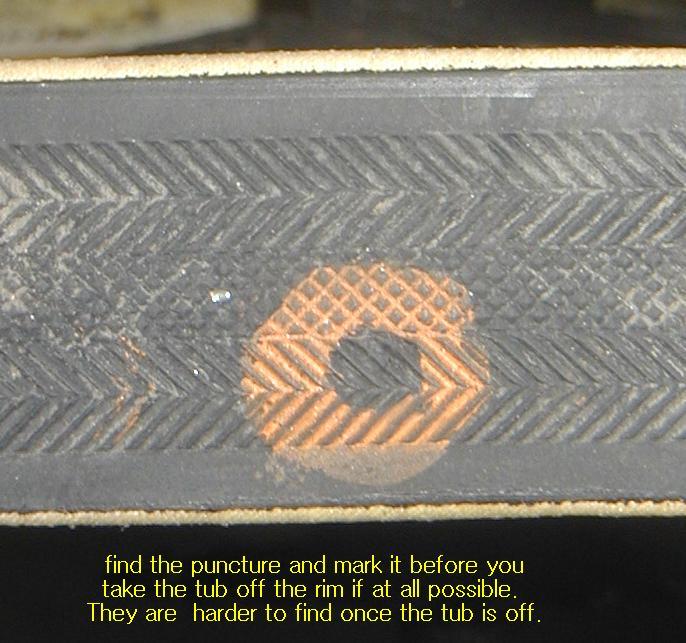
I am sometimes asked for instruction in tubular tire repair. We have free copies of Gene Portuesi's excellent article on the subject but the new generation prefers digital photos. Since I just improved the intersection of Mifflin at Paterson by taking this piece of glass home with me, here goes. Click to enlarge photos Mark the injury first
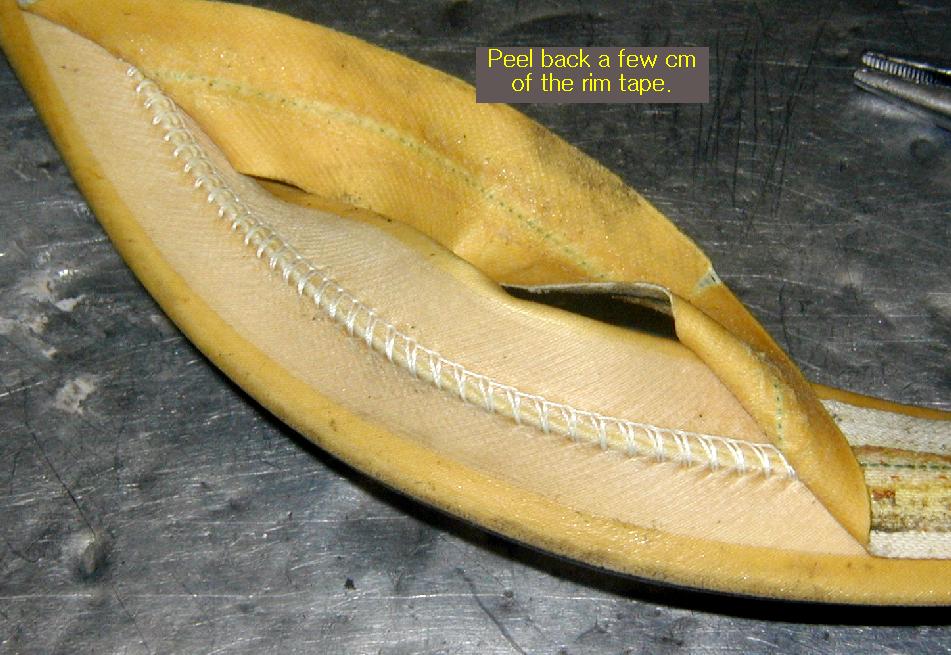
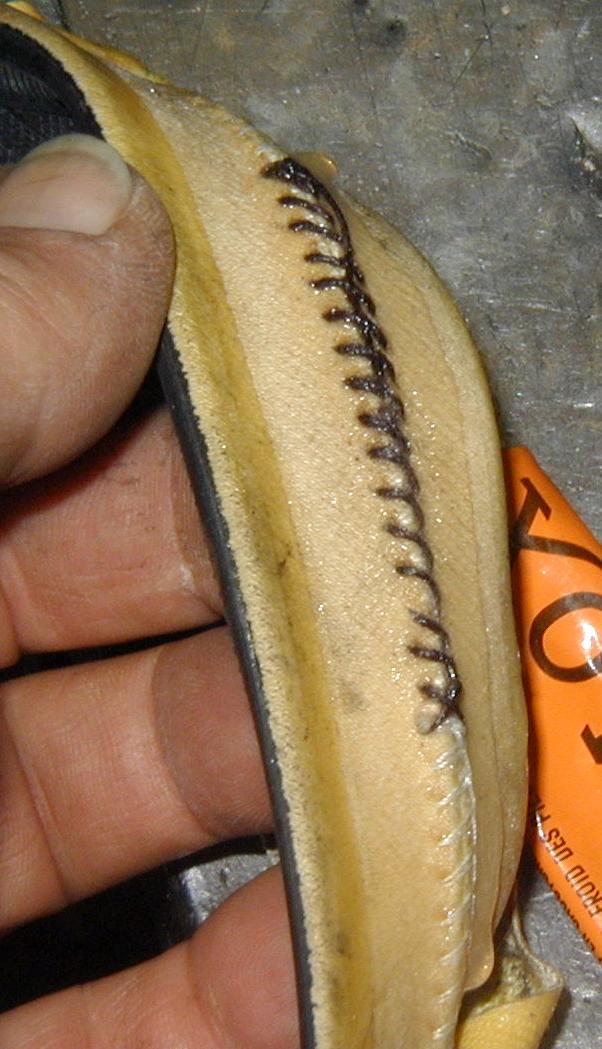
Then remove the tire and peel back the base tape
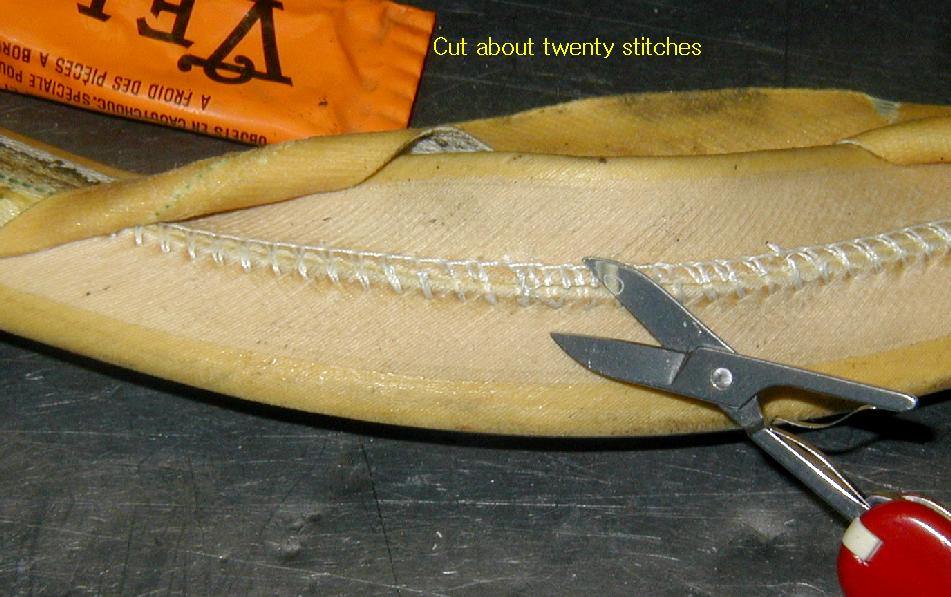
Cut some stitches
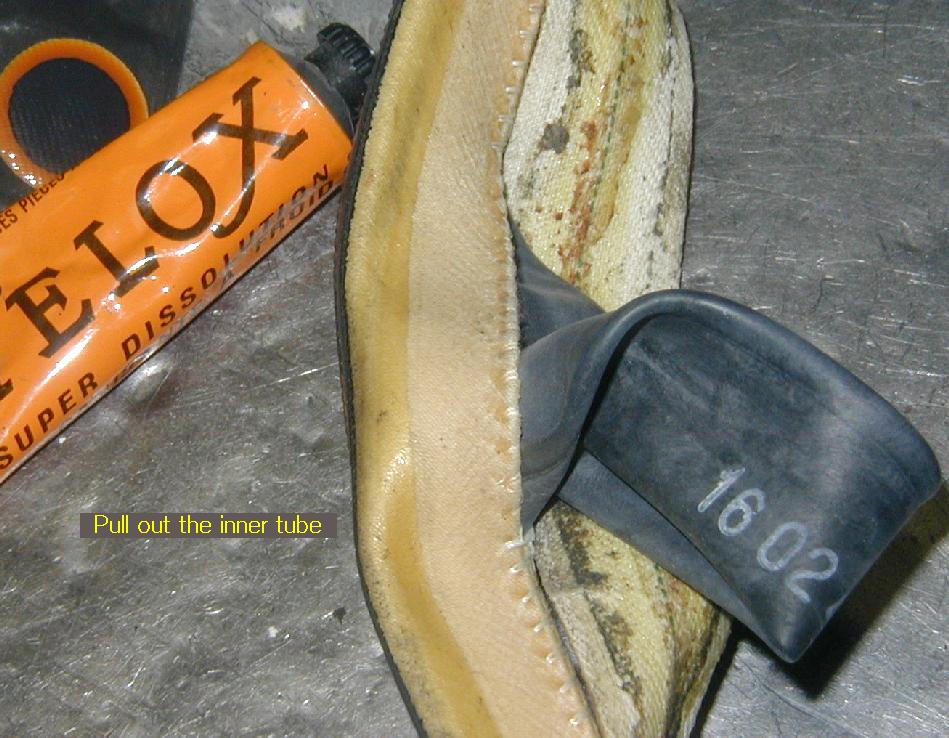
Pull out the tube
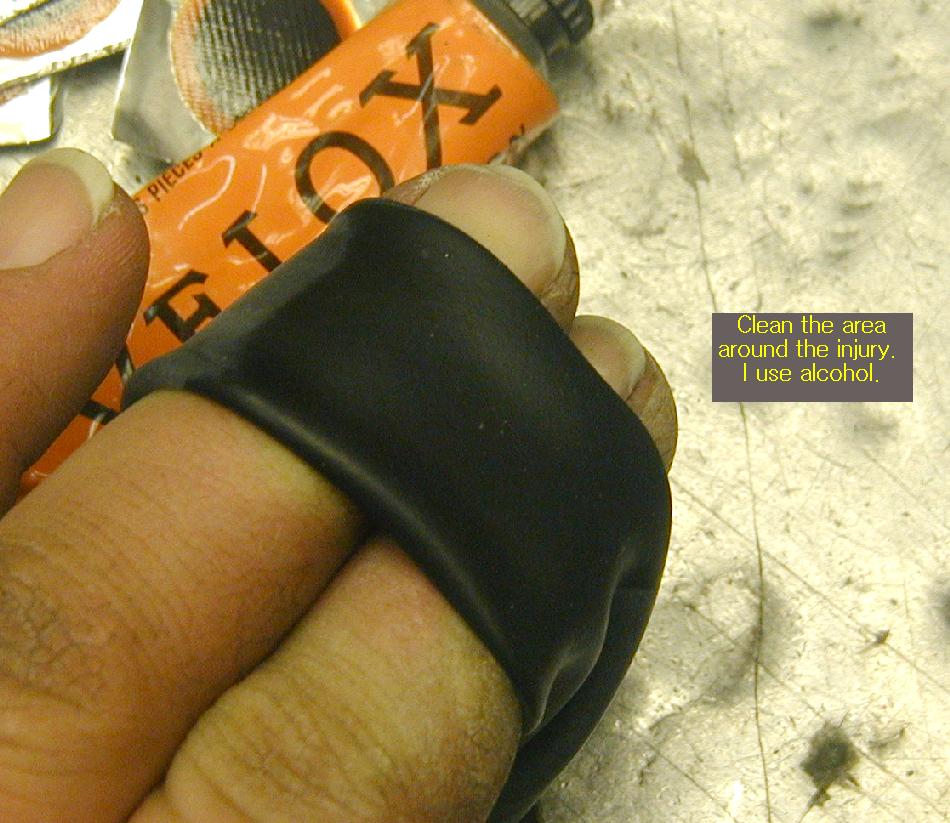
Clean the surface. I use alcohol but any volatile solvent is better than sandpaper. Keep your fingers off the clean surface
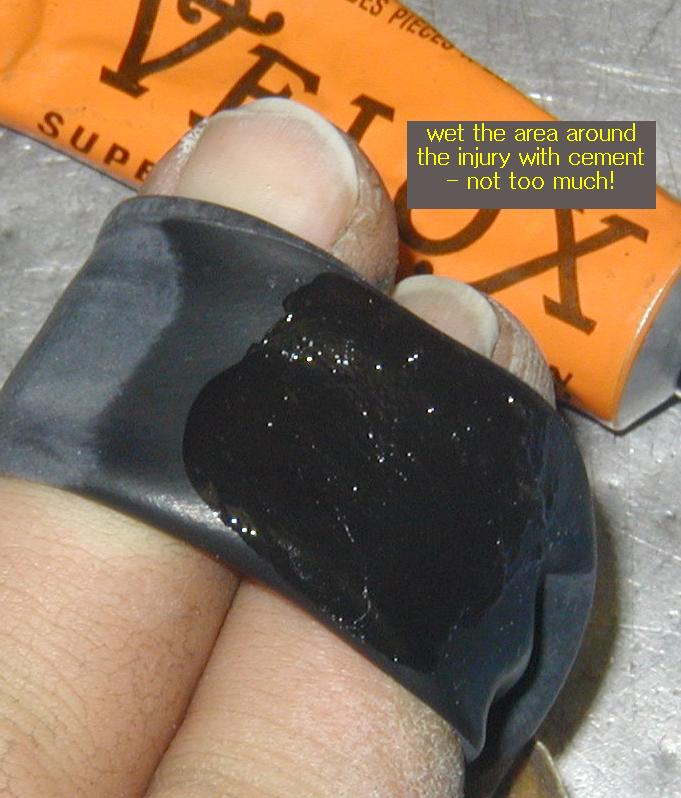
Wet the area with cement but not more than enough to wet the area. Allow it to dry which takes about a half a minute.
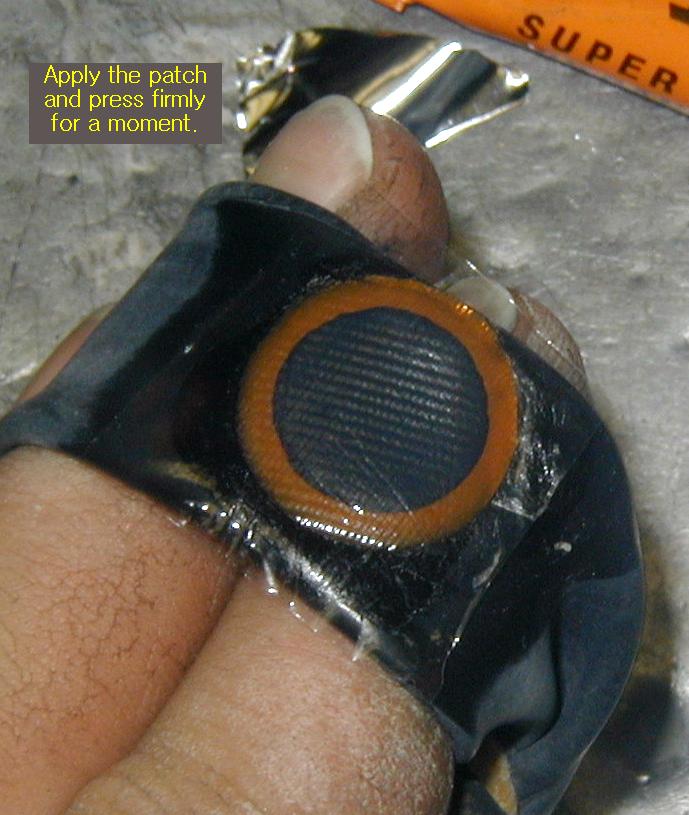
Press the patch down on the cemented area firmly. Now you no longer have a flat!
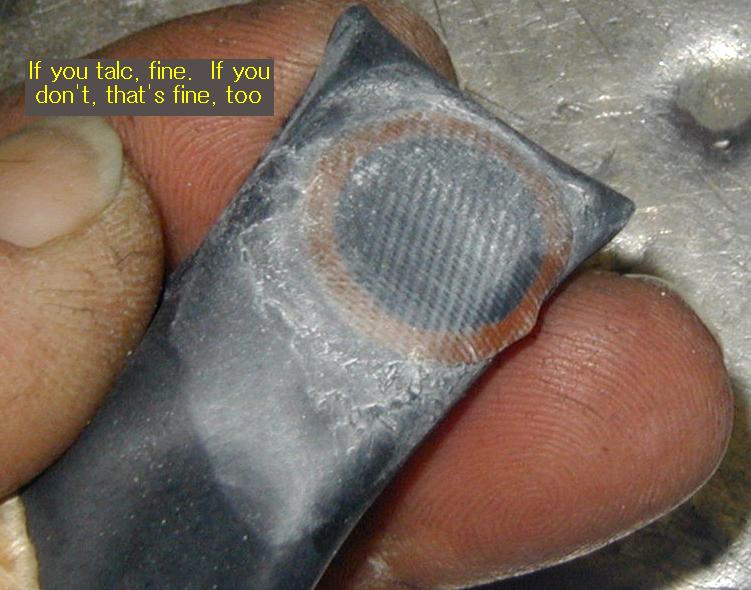
Talc keeps the extra glue from sticking the tube to the tire. It's not absolutely necessary.
Stitch the tire in the same holes as the original stitches. Knot the ends of your repair. Keep the stitch tension even just like in clothing. I tuck the ends under the stitches, some people trim them at the knot.
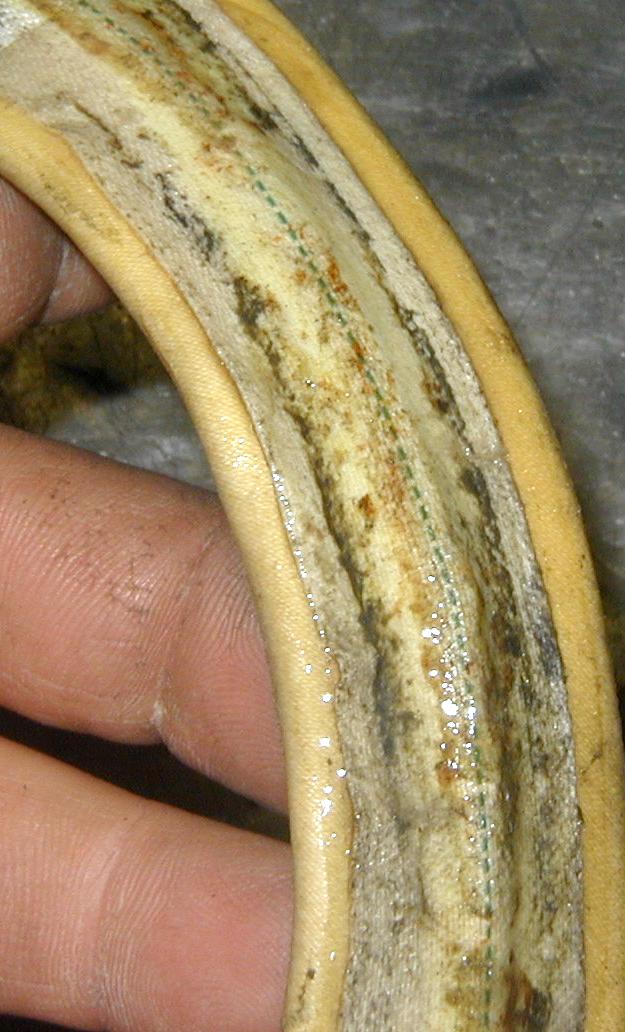
Wet the bottom of the rim tape and the repaired area well with latex solution. This stuff soaks in fast so it is hard to use too much. Slather it all over.
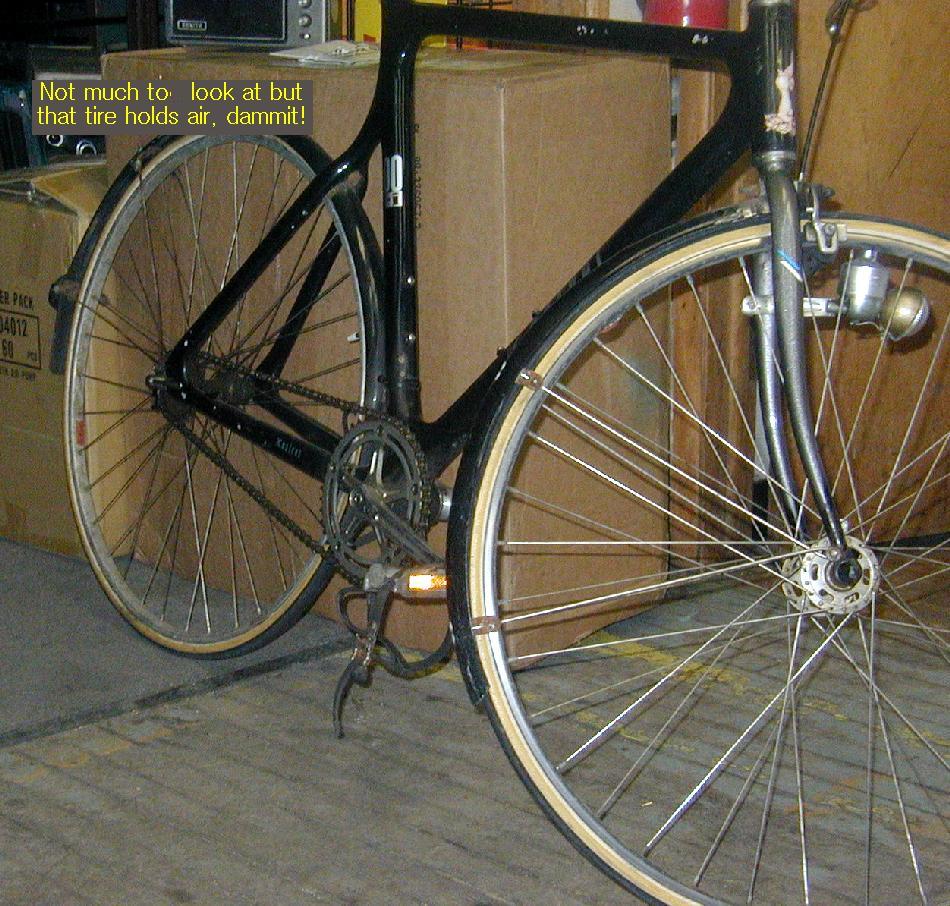
Press the latexed rim tape back where you found it. Coat the edges with even more latex solution Glue the tire as you normally do- spread the cement from side to side but not inside the nipple wells. Re- mount the wheel in the bike, upload the photos and ride home!
The entire process, including snapping the camera, was about fifteen minutes.
Not to be a ghoul, but New Tubulars And more! We also carry Tufo tubulars
Some Tubular Supplies and Accessories
Random thoughts about Tubulars and gluing tubulars

![]()
how to order